Sky Cam - Online User’s Manual
Contents
Warning before install -------------------------------------------------------------------------------------------------- p. 2
1. Check package contents --------------------------------------------------------------------------------------------- p. 4
2. Physical
description
--------------------------------------------------------------------------------------------------
p. 5
3. Installing the
software
-----------------------------------------------------------------------------------------------
p. 6
4. Connect and disconnect the Sky Cam to USB port ------------------------------------------------------------ p. 17
5. Launching the
software --------------------------------------------------------------------------------------------
p. 19
6. Positioning the
Sky Cam
-------------------------------------------------------------------------------------------
p. 26
7. Cleaning the lens
----------------------------------------------------------------------------------------------------
P. 27
8. Specifications -------------------------------------------------------------------------------------------------------- P. 28
9. Electromagnetic Compatibility ------------------------------------------------------------------------------------ P. 30
10. Liability ------------------------------------------------------------------------------------------------------------- P. 31
Before Install -
Warning
· Power off the Sky Cam as soon as it is found smoking or smelt unusual
![]() Contact your distributor when such cases happen
Contact your distributor when such cases happen
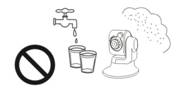
· Keep the Sky Cam away from the water. If the Sky Cam is wet, power off immediately.
![]() Contact your distributor when such cases happen
Contact your distributor when such cases happen
· Do not place the Sky Cam around the heat sources.
· Refer to the specification for the operating temperature.
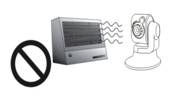
· Keep the Sky Cam away from the direct sunlight.

· Do not place the Sky Cam in high humidity environments.
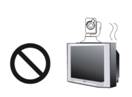
· Do not place the Sky Cam on unsteady surface.

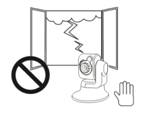
· Do not touch the Sky Cam when it’s lightening.
· Do not disassembly the Sky Cam.
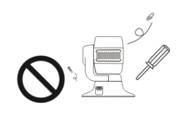
· Do not drop the Sky Cam.

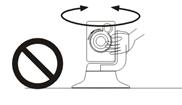
· Do not manually pan and tilt the Sky Cam when it is rotating by electrical power.
1. Check package contents
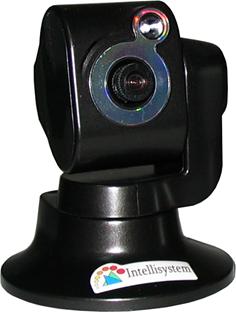
The Sky Cam (normal or high resolution model)
|
|
|
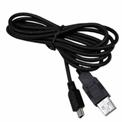
USB cable
|
Software CD
|
|
|
|

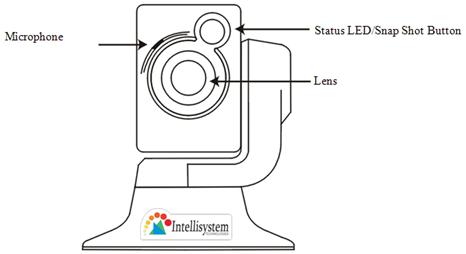
2. Physical description
· Front Panel
· Rear Panel

3. Installing the software
Turn on your computer or notebook and close all the programs run under Windows system. Make sure that your computer operative system is Windows 2000 SP-4 or XP. To get better performance for this USB2.0 device, XP professional SP-2 is recommended. If necessary, please upgrade the system from Microsoft website. USB 2.0 port will be good for better performance of the Sky Cam. Load the software CD into CD-ROM drive, wait a few seconds for auto-run menu running. Don’t connect the Sky Cam to your computer when installing the software.
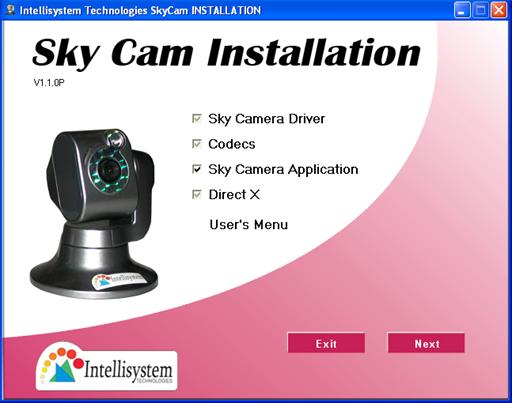
Choose all software on the main menu to install. You will loss some major function if you choose only few of them. Click ”Next” and follow the on-screen instruction as the figure reported above.
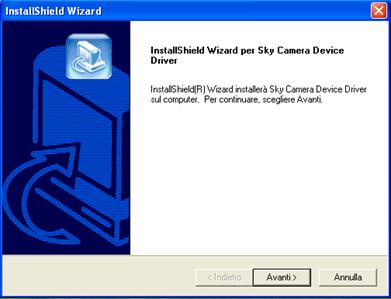
The first software that will be installed is the Sky Cam USB driver. Please select “Avanti”/”Next” in order to install it.
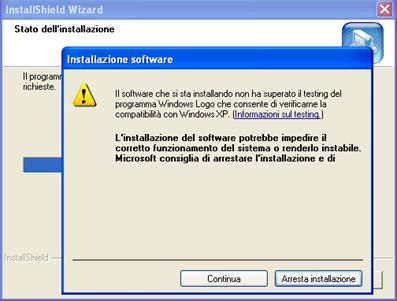
Each time that the following figure appears please select “Continua”/”Continue”
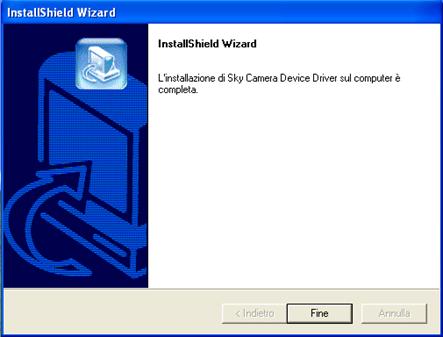
Please click on “Fine” to finish the driver installation in order to continue with next software.
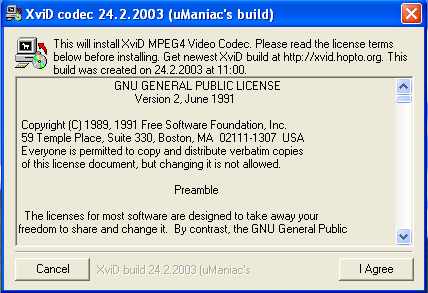
Next software is “etMCAP”. Please select “I Agree” and follow the instruction.
Click “OK” and continue.
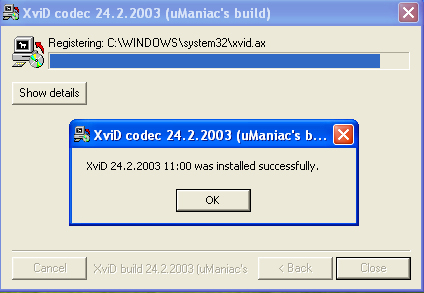
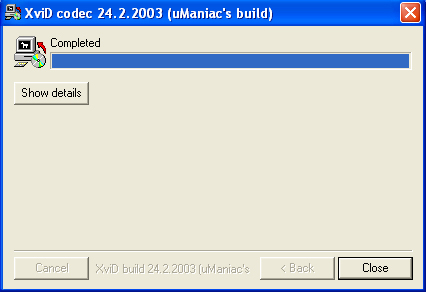
Please click on “Close” to finish this software installation in order to continue with next one.
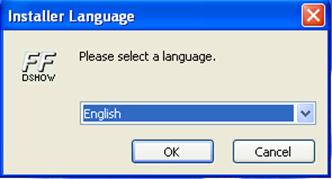
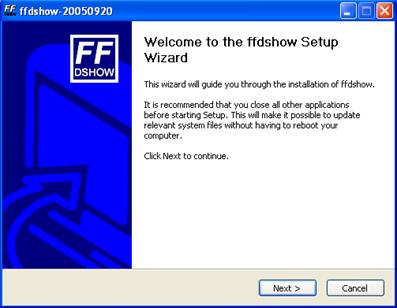
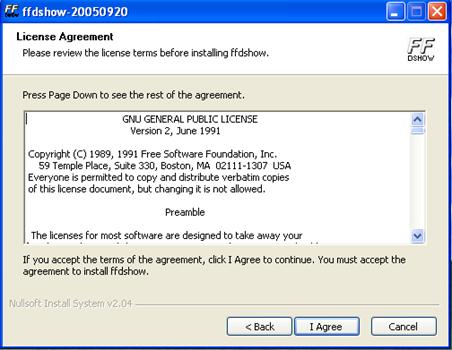
Next software is “FF DSHOW”. Please select your language an click “OK”.
Please click “Next”
Please click on “I Agree”.
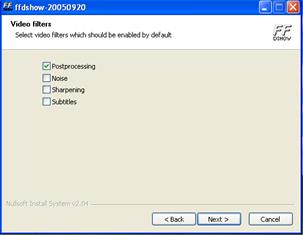
Please click on “Next”. No more then default “Selected components to install” are required.
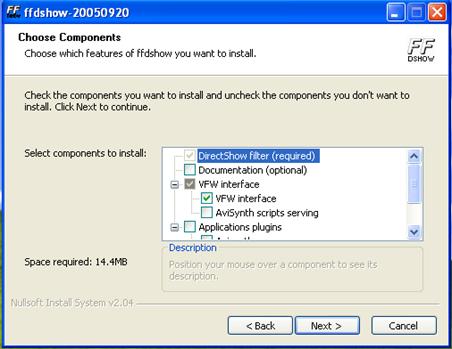
Click always “Next >” as on the next figures.
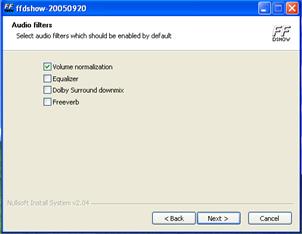
Please select “Next >”.
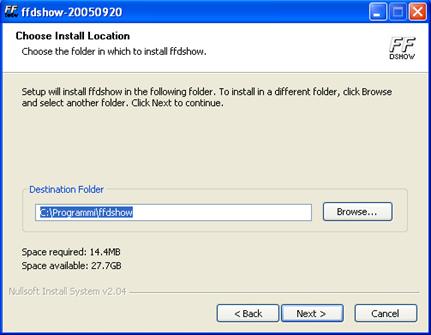
Please select “Install”.
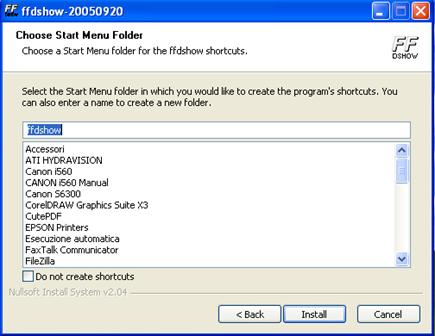
Please select “Next >”
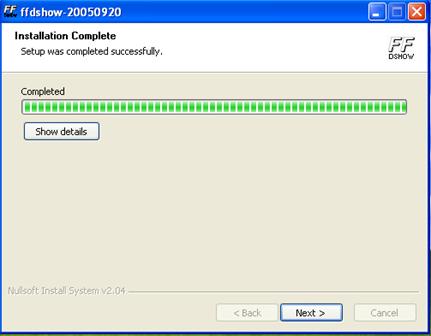
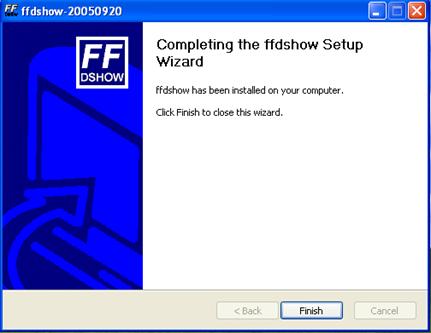
Select “Finish” in order to finish the software installation and continuing with next one.
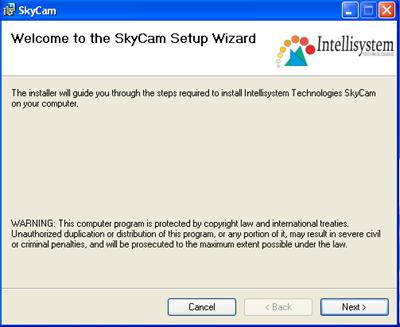
Next software is “Sky Cam Setup Wizard”. Please click “Next >” for begin the installation
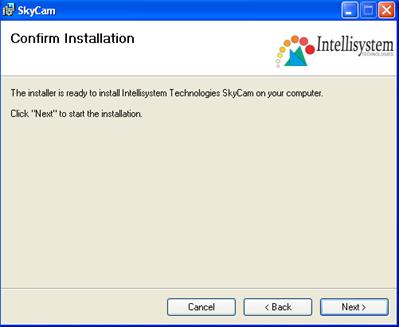
Please click “Next >”
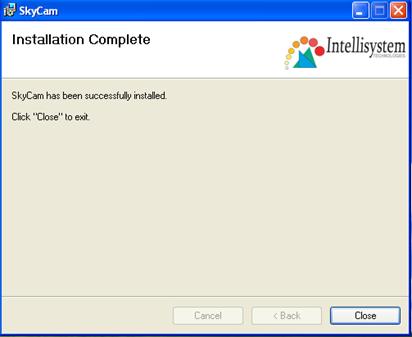
When the setup is complete please click on “Close” in order to finish this software installation and continue with next one.
Last software is the ActiveX 9.0 runtime please install it. If your system has a new one the software will go quickly to the end of installation.
When complete the driver and software installation please restart your computer to ensure the software could be operated adequately. If you failed in the process of installation or got a new version of software, please use uninstall to remove all software and re-install again.
4. Connect and disconnect the
Sky Cam to USB port
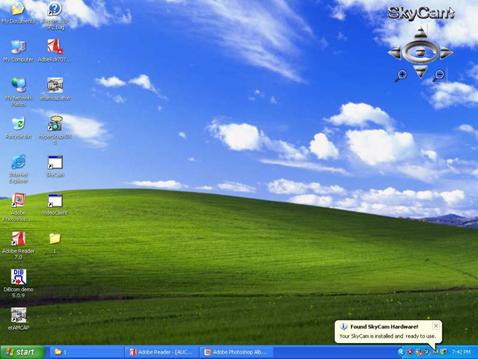
After software is well installed, it is possible to connect the Sky Cam to the computer’s USB port. When first time you plug the Sky Cam to the USB port, the device driver should be installed for the computer to identify the new hardware device. Please follow the on screen instruction to complete the installation. Wait few seconds, the motor control logo will show on the screen when the video device is found. If you are using Windows 2000 system, you will be requested to restart your computer when the audio device is found. Please restart your computer to ensure that the Sky Cam could be operated adequately. Please close all software before every time you plug the Sky Cam to computer including the “Video Client”, or it may cause trouble to the software with sound effect that is still running on computer.
You can control the pan/tilt, position reset and 10x digital zoom by clicking the motor control logo on the screen when running all software. The motor control logo could be set hidden or show again by clicking twice the Sky Cam icon on the bar in right-bottom side.
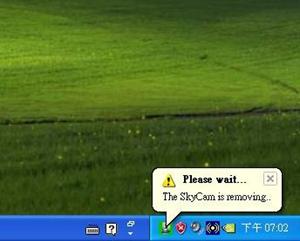
Every time when you unplug the Sky Cam from your computer, there is an indication to show you the status that the Sky Cam is removing or is completely removed.
Note: Don’t plug again at the moment when Sky Cam is
not completely removed.
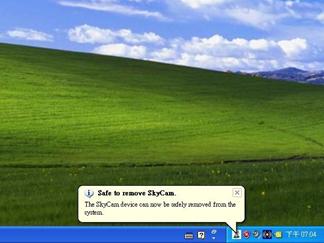
When the Sky Cam is shown completely removed, it’s save to plug the Sky Cam again to your computer if necessary.
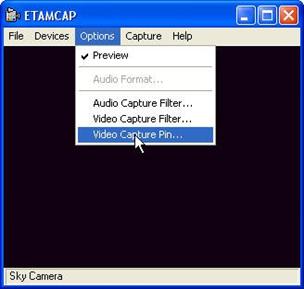
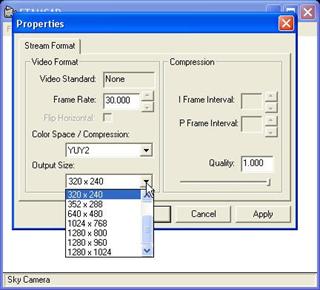
5. Launching the software
By using the software “etAMCAP”, you can get high resolution video capture or still image capture which could be up to 1280*1024 pixels. Enter the options setting, choose video capture pin and then set the video compression to be YUV2. The video resolution (size) could be set from range 320*240 to 1280*1024.
You can change the capture angle by moving the Sky Cam head from the motor control logo. Push the button on the Sky Cam could get a still image. You could also record the video in high resolution but that will get huge storage size occupation.
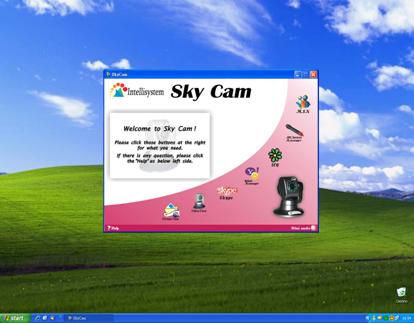
When you are running the powerful software “Sky Cam”, on the main menu you have several kind of application software to choose for what you need. Close “etAMCAP” before you clicking any of the listed software.
When choosing all listed software except the “Video Server” and “Video Client”, you can always use motor control logo to control the pan/tilt. The motor control logo will become disappear once you open the software “Video Server” or “ Video Client” that with built in control panel.
Main menu
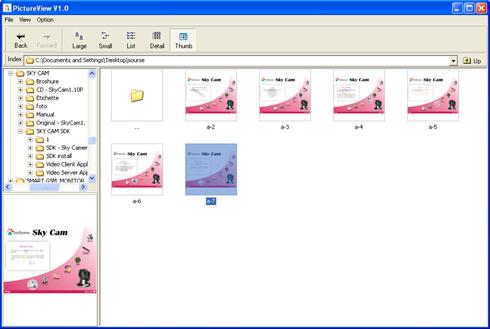
Click the “picture view” from
the main menu, makes you easy to do pictures management.
Picture View
The software “Sky Cam” especially provide you convenience to do several kind of video/audio application like motion tracking, motion detection with e-mail notification, surveillance through internet, ... etc. Close “etAMCAP” or other video software, then clicking “Video View” on the main menu will link to software “Video Server”. Let you start experiencing the amazing video/audio world.
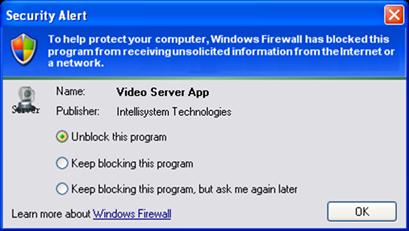
The software “Video Server” may be blocked from your computer if a firewall for networking security is installed. Please unblock this program and click “OK”.
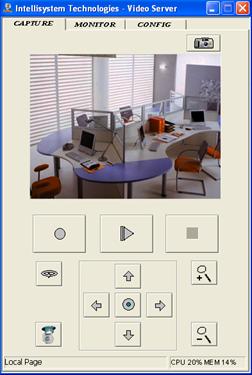
Video Server :
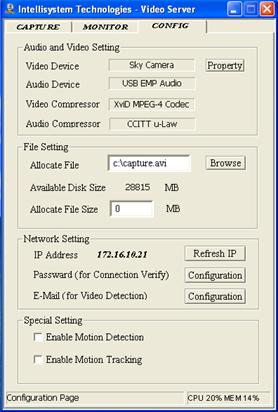
In configuration of Video Server, you can do setting for properties of the Sky Cam and to enable some special function. Then choose mode “Capture” for local use or choose “ Monitor” for network connection.
In file setting, let you know the disk size available for recording. The allocate file “capture.avi” is buffer location in process of recording. Don’t save the recorded file here.
In network setting, you can get the IP address for this computer and enter configuration for password and e-mail setting.
This software provides special function: motion tracking and motion detection with e-mail notification. Please don’t set the video resolution higher than 640*480 when enable the motion tracking. With this function enabled, could help you to get messages immediately that could be abnormal condition with object moving in the surveillance area.
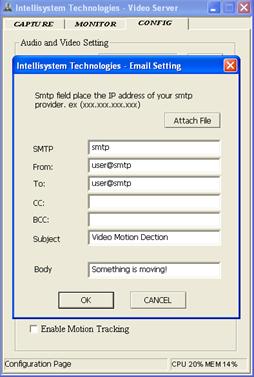
E-mail setting
When you enable the motion detection, please enter the configuration of e-mail to setup SMTP server and e-mail address. The function motion detection with e-mail notification is valid only in “Monitor” mode.
The message sending out through e-mail includes a picture that can be saved in certain directory when entering setup “attach file”.
Once you press the button in eye shape to start monitor, or the Sky Cam is already in connection from remote “Video Client”, then the content of message will be text only in e-mail.
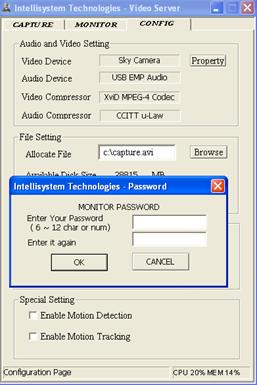
Password setting
Type twice to confirm the password, then every time you have to use the password when connecting to this Sky Cam from remote site.
If you don’t set it, the default setting of password is “Sky Cam ”.
Video Capture in local
In here, you can do record, play, stop of the video/audio, also 10x zoom, motor control, reverse the image, auto pan and take picture. The size of recording video is quite small because it’s in high ratio compression.
The file size would be 2~3 MB if you record one minute video.
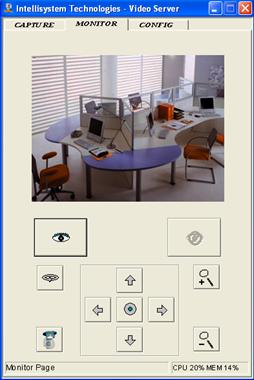
Monitoring
When you click the “Monitor”, the function is almost the same as in “Capture” mode. Once you press the start button, icon with eye shape, then the video and audio is ready for network connection. Under this situation, you can use the software “Video Client “, installed in remote site connecting to this Sky Cam for surveillance purpose.
When the Sky Cam is installed at an internet address, you can follow the same installing procedure to install the software on a PC in any Lan network with output ports of TCP 5001, 6001 and UDP 9001 opened for the router and use the software "video client" to monitor the Sky Cam.
When the Sky Cam is installed at a Lan address, you can install the software on a PC in same Lan network and use the software "video client" to monitor the Sky Cam.
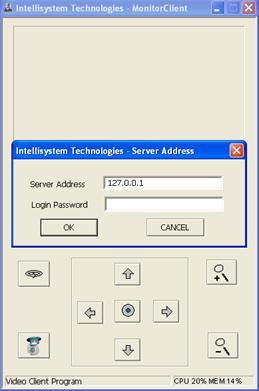
Monitor Client Connection
Click the connection button will pop up a window for you to type the IP address and password that set in video server. Wait a few seconds to successfully connect to the Sky Cam that setup in the server computer.
Notice! Don’t plug the Sky Cam to client computer when the software “Video client” is working with the Sky Cam setup in server computer. Setup ready the Sky Cam before you turning on the video client software.
If there is no setting of password in video server, you have to enter “Sky Cam ” as default setting.
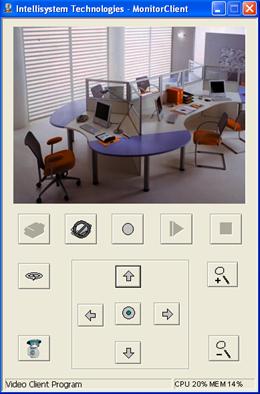
Monitor Client
By using the software “Video Client”, you can connect to the Sky Cam that setup in the server computer after confirming with the password and IP address that set in video server.
Must open output ports of TCP 5001, 6001 and UDP 9001 for the router if the software “Video Client” is installed at Lan network and Sky Cam set at an internet address.
Also you can do record, play, stop, 10x zoom, reverse the image, motor control and auto pan from remote site.
Once disconnect, need to wait 1, 2 minutes for re-connection.
Sky Cam can be used as interactive video conference if you installed both Sky Cam in the same Lan network or both at internet IP address. Setup ready the Sky Cam first then turning on the software “Video Server” and “Video Client” simultaneously. Through the two way video/audio transmission, both you in server and client can see and control the Sky Cam each other.
Video Server + Video Client

6. Positioning the Sky Cam
Tabletop Placement.
The Sky Cam can be placed on a tabletop next to your computer monitor. Use the Sky Cam on its base, or use the mounting stand to raise the Sky Cam to your eye level.
Monitor Placement.
If there is a flat, stable surface on top of your monitor, place the Sky Cam on the base in the middle of your monitor. You don’t need to use the stand on your Sky Cam.
For surveillance
purpose.
If you will use this Sky Cam as a surveillance purpose, you can use the stand to mount the Sky Cam on anywhere like as wall, ceiling … etc.
Sky Cam Rotation.
Do not manually rotate the Sky Cam when it is rotating driven by electrical power. That could damage the Sky Cam. Beside this situation, you could rotate the Sky Cam either by hand or use your mouse or keyboard to pan and tilt the Sky Cam to your favorite angle.
7. Cleaning the lens
When it is necessary to clean the lens, please follow these instructions:
· Prepare cotton swabs and alcohol.
· Moisten the cotton swab with alcohol.
· Slightly clean the lens.
If the lens is still dirty, repeat 2 ~ 3 steps until it is cleaned. Change a clean cotton swab if the old one is dirty or contains dirt that might scrape the lens. Never touch the lens hard.
8. Specifications
Key Features
Audio & Video Surveillance/Security for Home/Office Via Internet
Motorized Pan/Tilt Operation and 10x Digital Zoom Via Web Remote Control
Auto-pan allowed
Built - in Motion Detection and E-mail Notification
Built - in Microphone
Video tracking for surveillance purpose
Integrate Yahoo! Messenger, MSN Messenger, Skype, AOL Instant Messenger, ICQ
Recording Software to Record Video in Hard Drive
Snap Shot Button for Instant Still Image Capture
Adjustable Manual Focus, Auto White Balance, Auto Exposure Control
USB 2.0 Plug & Play
Technical Specifications
|
Video Video Capture/Still Image Capture : Sky Cam - Up to 1280 X 960 Pixels(Interpolated) Sky Cam HR (High Res) - Up to 1280 X 1024 Pixels 30fps at CIF/QCIF/VGA, 15fps at SVGA Sharpness enhancement Contrast,
brightness, and saturation adjustments |
Sky Cam specification CMOS sensor Sky Cam : 300K pixels Sky Cam HR: 1300K pixels Sensitivity 0.9V/Lux-Sec Dynamic range 62dB |
|
Lens Focal length 1/4” VGA 5.4mm (Focal length
1/4” SXGA 3.8mm : Sky Cam HR) |
Audio Sample rates of 48K,44.1K,32K,16K and 8K S/N ratio : more
than 90dB |
|
Viewing system requirement USB2.0/1.1 Operating system : Microsoft Windows 2000 SP-4 or XP (XP professional SP-2 is recommended) |
Microphone Omni-directional Frequency : 20 – 20,000Hz S/N ratio : more than 60db Output
sensitivity : -38+-3dB |
|
Pan/Tilt angle Pan : Range 350
degree, Tilt : Range 135 degree |
EMI & Safety CE, FCC |
|
Operating Environment Temperature : 0 - 40℃ Humidity : 85% RH |
Dimension 80 x 68 x 68
(mm) |
|
Power Consumption :
Max 2.5 W |
Weight Net : 130 g |
Electromagnetic Compatibility (EMC)
This device compiles with FCC Rules Part 15. Operation is subject to the
following two conditions.
This device may not cause harmful interference, and
This device must accept any interference received, including
interference that may cause undesired operation.
USA - This equipment has been tested and found to comply with the limits
for a Class B digital device, pursuant to Part 15 of the FCC Rules. These
limits are designed to provide reasonable protection against harmful
interference in a residential installation. This equipment generates, uses and
can radiate radio frequency energy and, if not installed and used in accordance
with the instructions, may cause harmful interference to radio communications.
However, there is no guarantee that interference will not occur in a partial
installation. If this equipment does cause harmful interference to radio or
television reception, which can be determined by turning the equipment off and
on, the user is encouraged to try to correct the interference by one or more of
the following measures:
-- Reorient or relocate the receiving antenna.
-- Increase the separation between the equipment and receiver.
-- Connect the equipment into an outlet on a circuit different from that
to which the receiver is connected.
-- Consult the dealer or an experienced radio/TV technician for help.
Shielded interface cables must be used in order to comply with emission
limits.
Europe - This digital equipment fulfills the requirement for radiated emission according
to limit B of EN55022/1998, and the requirement for immunity according to
EN50082-1/1992.
Liability
Intellisystem
Technologies S.r.l. cannot be held responsible for any technical or
typographical errors and reserves the right to make changes to the product and
manuals without prior notice. Intellisystem Technologies S.r.l. makes no
warranty of any kind with regard to the material contained within this
document, including, but not limited to, the implied warranties of
merchantability and fitness for a particular purpose. All other company names
and products are trademark or registered trademarks of their respective
companies.
For any
question and support please contact:
Intellisystem
Technologies S.r.l.
Support: [email protected]
Web Site: http://www.intellisystem.it